
To upgrade your bathroom safety DIY-style, start by adding non-slip mats with textured surfaces to wet areas and regularly clean them to prevent mold. Install sturdy grab bars near your shower, bathtub, and toilet, securing them into wall studs or anchors for maximum support. Proper placement and secure mounting are key to usability. Combining these simple upgrades creates a safer environment. Keep your fixtures maintained, and you’ll enjoy peace of mind—discover more easy tips to enhance your bathroom safety.
Key Takeaways
- Install non-slip mats with textured surfaces in the bathtub, shower, and on bathroom floors for better traction.
- Securely mount grab bars in key locations using wall studs or anchors to provide stable support.
- Use a level during installation to ensure grab bars are straight and positioned for easy grip.
- Combine non-slip mats and grab bars for comprehensive safety, especially for seniors or mobility-challenged individuals.
- Regularly inspect, clean, and tighten fixtures to maintain safety features and prevent wear or deterioration.
Your bathroom can be a safer space with a few simple DIY upgrades. One of the easiest ways to prevent slips and falls is by adding non-slip mats to the bathtub, shower, and bathroom floor. These mats provide traction, especially when surfaces are wet and slick. Choose ones with a textured surface and guarantee they have a secure grip on the floor. Regularly clean and dry the mats to maintain their effectiveness, and replace them if they become worn or moldy. Non-slip mats are an affordable, straightforward upgrade that can make a noteworthy difference in reducing accidents.
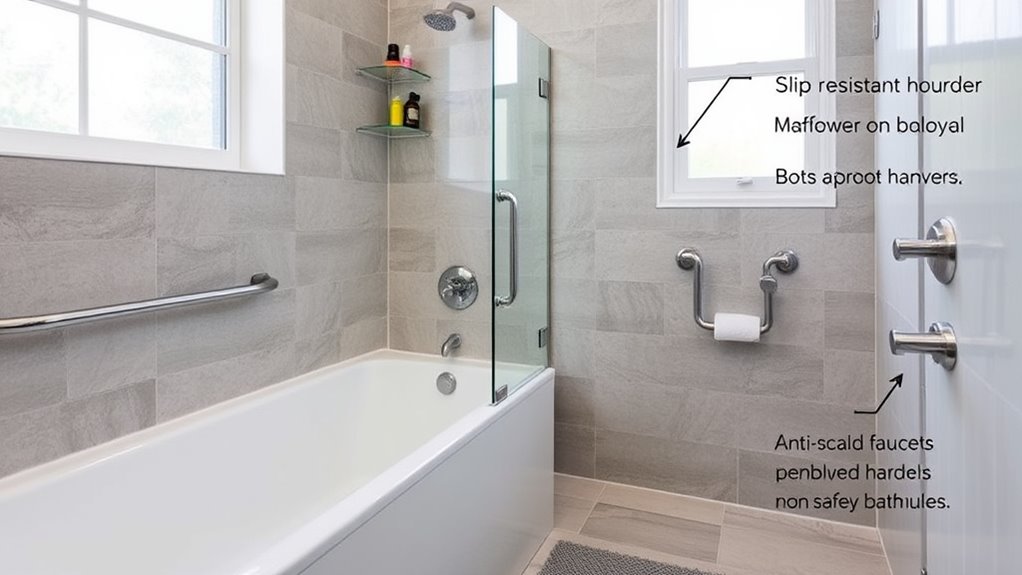
Another essential safety upgrade is grab bar installation. Installing grab bars in key areas like the shower, bathtub, and near the toilet gives you extra support when getting in and out of these spaces. You don’t need to be a professional to do this; with a few tools, you can securely mount grab bars into wall studs or use appropriate anchors for drywall. Make sure the grab bars are sturdy and positioned at a comfortable height for easy grip. This simple addition can boost confidence, especially for seniors or anyone with mobility challenges, by providing stability during movement and reducing the risk of falls.
Installing sturdy grab bars at key locations boosts safety and confidence in your bathroom.
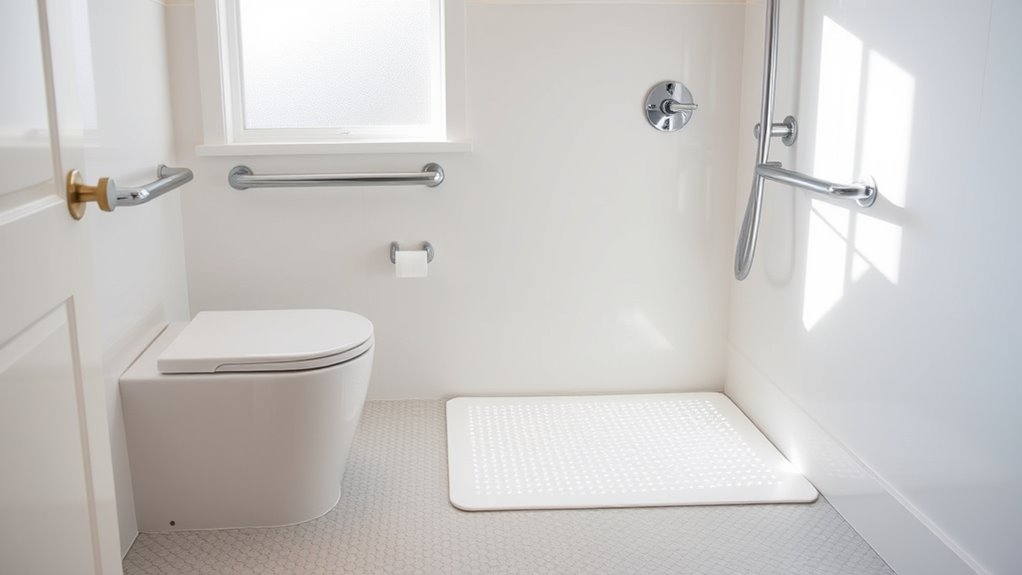
When installing grab bars, it’s important to choose the right location. For the shower or bathtub, place them on opposite walls at a height that allows you to hold onto them comfortably while standing or seated. Near the toilet, position a grab bar on the wall behind or beside it for extra support when sitting down or standing up. Proper placement is key to maximizing safety benefits. Use a level to ensure they’re straight, and secure them into wall studs whenever possible for maximum strength. If you’re not comfortable with drilling into walls, consider consulting a professional to guarantee proper installation.
Pairing non-slip mats with grab bars creates a thorough safety system. The mats reduce the chance of slipping on wet surfaces, while grab bars give you something sturdy to hold onto during movement. This combination is especially useful if you have limited mobility, balance issues, or are caring for someone who does. These upgrades are cost-effective and quick to implement, but they profoundly improve bathroom safety. Interestingly, the role of contrast ratio in projectors affects perceived sharpness and clarity, similar to how proper placement of safety features enhances overall bathroom usability. Remember, regular checks are crucial—replace worn mats and tighten grab bar fixtures as needed. With these simple DIY modifications, you create a safer environment that minimizes risks and adds peace of mind every time you step into your bathroom.
Frequently Asked Questions
What Are the Best Non-Slip Mats for Bathroom Floors?
You should choose non-slip mats with textured surfaces for bathroom floors, like those made from rubber or silicone, to prevent slips. When installing these mats, consider adding bathtub grab bars and exploring shower seat options for extra safety. These upgrades work together to reduce fall risks, especially in wet areas. Make sure the mats have strong grip suction cups to stay secure, and regularly clean them for maximum safety.
How Can I Prevent Mold Growth After Installing Safety Features?
To prevent mold growth after installing safety features, you should improve ventilation by using exhaust fans and opening windows regularly. Additionally, opt for mold-resistant materials like mildew-resistant paint and waterproof tiles in high-moisture areas. Keep your bathroom dry by wiping down surfaces and fixing leaks promptly. These steps help reduce humidity and inhibit mold formation, ensuring your bathroom stays safe and clean over time.
Are There Budget-Friendly Safety Upgrades for Small Bathrooms?
Imagine transforming your small bathroom without breaking the bank. You can add budget-friendly options like non-slip mats, grab bars, and improved lighting for safety. Affordable upgrades don’t have to be complicated or costly; simple changes can make a huge difference. With these easy and inexpensive solutions, you’ll feel more secure every time you step in, knowing safety is prioritized without draining your wallet. Don’t wait—start upgrading today!
How Often Should Bathroom Safety Features Be Inspected or Replaced?
You should inspect your bathroom safety features at least once every six months to make certain they’re secure and functioning properly. Pay special attention to grab bars, non-slip mats, and lighting. Replace any worn or damaged items promptly, usually within a year or as needed based on the replacement timeline. Regular inspections help prevent accidents and keep your bathroom safe, especially if you notice any signs of wear or instability.
Can I Install Safety Features Without Professional Help?
Did you know that nearly 60% of bathroom accidents happen due to improper safety feature installation? You can attempt DIY installation of safety features if you follow proper guidelines and make sure your tools are suitable. However, it’s essential to check safety certifications on products to guarantee quality. While DIY can save money, consulting a professional ensures the installation is secure and compliant with safety standards, especially for vital safety features.
Conclusion
By taking these simple DIY safety upgrades, you’re setting yourself up for a safer bathroom experience. Remember, a little effort now can prevent big accidents later. Don’t wait for a small mishap to turn into a major problem—nip it in the bud. With a few quick improvements, you’ll have peace of mind knowing your bathroom is safer for everyone. After all, an ounce of prevention is worth a pound of cure.