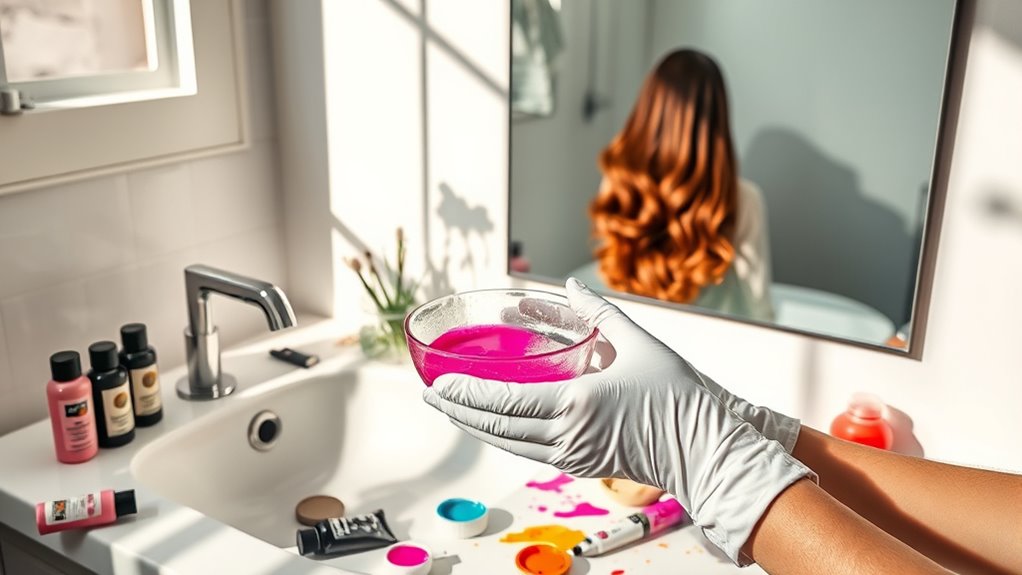

At-home hair coloring can be a game-changer, saving you money while letting you experiment with your look. To get the best results, gather essential supplies like hair clips, barrier cream, and an old toothbrush for stubborn grays. Follow a step-by-step application process, focusing on your hairline and timing your color precisely. Don't overlook rinsing and conditioning—they're vital for maintaining vibrancy. Discover the little-known tricks that can elevate your coloring experience and guarantee fabulous results!
Key Takeaways
- Essential supplies include a classic color kit, hair clips, barrier cream, a protective cape, and an old toothbrush for precise application.
- Proper sectioning of hair into half-inch portions ensures better coverage and minimizes the risk of missing stubborn gray hairs.
- Apply petroleum jelly around the hairline to protect skin and prevent staining during the coloring process.
- For stubborn gray strands, extend processing time by an additional 5 minutes and focus on applying color to the hairline first.
- Rinse thoroughly with warm water, condition for at least 2 minutes, and finish with cool water to enhance shine and maintain hair health.
Essential Supplies for At-Home Coloring
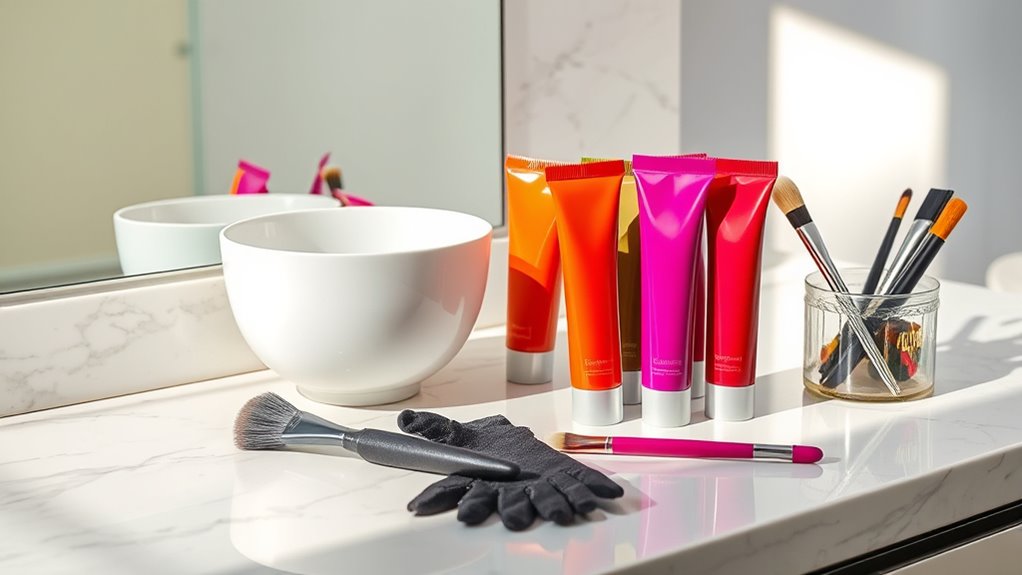
When you're ready to tackle at-home hair coloring, having the right supplies is key to achieving great results. Make sure you grab a classic box kit of color, along with hair clips for easy sectioning.
Gather essential supplies like a box kit of color and hair clips for effortless at-home hair coloring.
A barrier cream, like petroleum jelly, is essential to protect your skin around the hairline. You can also create a protective color cape using a garbage bag—just cut out holes for your neck and arms to prevent stains on your clothes. Additionally, using a spritz method to mist your hair with water can help enhance the color absorption. Keeping your workspace clean and free of dust can also contribute to better results, similar to how air quality affects various processes in the home. Remember that color accuracy is essential for achieving vibrant and true-to-tone results in your hair color.
Don't forget to wear gloves to avoid staining your hands. There's no need to pre-wash your hair unless it's overly greasy; the natural oils help protect your strands. Additionally, having a savings goal in mind for beauty expenses can help you budget effectively for at-home hair coloring supplies.
Finally, keep an old toothbrush handy for precise application, especially targeting stubborn gray hairs. Consider using the right tools to enhance your at-home coloring experience, as they can make a significant difference in the outcome.
How to Protect Your Hairline Effectively

To protect your hairline effectively during at-home coloring, start by applying a generous layer of barrier cream, like petroleum jelly or Vaseline, around the edges. This prevents staining and irritation as you work.
Focus on your hairline first when applying color, since it usually has the most gray hair and needs precise coverage. Use hair clips to section off your hair, keeping it away from the hairline to maintain a clean application area. Additionally, maintaining a balanced diet can improve the overall health of your hair, making it more resilient during coloring. A diet rich in raw food can provide essential nutrients for hair growth and strength.
If staining does happen, gently massage the color into the skin to minimize marks before rinsing. Always wear gloves when coloring to protect your hands and avoid accidental contact with your skin while you apply the color. Additionally, consider using specialized butter tools that can aid in maintaining your hair's moisture during the coloring process. Butter's fat content helps create a barrier that locks in moisture, promoting healthier hair during the coloring treatment.
Incorporating educational toys can also enhance your overall well-being by promoting relaxation and reducing stress, making it easier to focus on your hair coloring technique. This way, you can achieve a neat and vibrant look!
Step-by-Step Application Process

Now that you've protected your hairline, it's time to prepare your workspace and start the application process.
You'll want to apply the color strategically, focusing on stubborn areas first for the best results.
Finally, rinsing and conditioning your hair properly guarantees that the color locks in and your hair remains healthy.
Prepare Your Workspace
Creating a well-organized workspace is essential for a successful at-home hair coloring experience. Start by gathering all necessary items like your color kit, hair clips, barrier cream, and a protective color cape—an old garbage bag works perfectly.
Before you begin, apply petroleum jelly around your hairline to prevent any staining or irritation. Shake the developer and color pigment thoroughly to guarantee an even mix.
Next, section your hair into half-inch portions, concentrating on gray areas for better coverage. This preparation not only streamlines your process but also increases the chances of achieving a flawless result.
Finally, after applying color, follow the box instructions for timing, usually about 25 minutes, and prepare to rinse until the water runs clear.
Apply Color Strategically
As you begin applying color, it's crucial to focus on precision for the best results. Start by applying a barrier cream around your hairline to protect your skin from staining.
Carefully section your hair into half-inch parts, beginning at the hairline where gray hair is most prevalent for thorough coverage. Mix the color and developer according to the instructions, shaking well to guarantee an even blend.
For those stubborn gray strands, use an old toothbrush for precise application, making sure you don't miss any spots. Finally, follow the recommended timing on the box for ideal results, extending an additional five minutes for those persistent grays if necessary.
This strategic approach guarantees even, vibrant color throughout your hair.
Rinse and Condition Properly
Once you've let the color set, it's time to rinse and condition properly to achieve the finest results.
First, follow the box instructions and rinse your hair thoroughly with warm water until the water runs clear. This step guarantees all color is removed, preventing any residue.
Next, apply the conditioner from your color kit to lock in the new hue and balance your hair's pH. Let it sit for at least 2 minutes for ideal results. If you want even better conditioning, feel free to leave it on longer to enhance texture and shine.
Finally, rinse with cool water to seal the hair cuticle and boost shine, completing your at-home coloring process beautifully.
Tips for Targeting Stubborn Gray Hair

When tackling stubborn gray hair, start at the hairline where it's most noticeable to guarantee you get full coverage.
Section your hair into half-inch parts for better precision and to help the color penetrate those resistant strands.
If you find some grays are still showing after the initial processing time, consider leaving the color on a bit longer for enhanced results.
Focus on Hairline First
Targeting stubborn gray hair at the hairline is essential for achieving a flawless at-home color. Since this area often harbors the most resistant grays, starting your application here guarantees even coverage.
Here are some tips to help you tackle those tricky strands:
- Apply a barrier cream like petroleum jelly around your hairline to prevent staining.
- Take half-inch sections of hair at the hairline for more precise application.
- For stubborn gray strands, use an old toothbrush to apply color in small areas.
- If you notice any staining, gently massage the color into the skin to help camouflage it.
Section Hair for Precision
Achieving a flawless color application goes beyond just focusing on the hairline; sectioning your hair properly plays an essential role in targeting stubborn gray strands.
Start by dividing your hair into half-inch parts, ensuring each strand gets enough color. Prioritize the areas with the most gray, like the hairline and crown, for maximum exposure.
Use hair clips to keep sections neatly separated, preventing color overlap and helping you stay organized. For those particularly stubborn spots, consider using an old toothbrush for precise application.
If you're tackling the back of your head, work in sections or get a friend to help, making sure you cover every inch and avoid missing any spots.
Extend Processing Time Slightly
To effectively tackle stubborn gray hair, extending the processing time slightly can make a significant difference. Consider adding an extra 5 minutes beyond the recommended 25 minutes for ideal color coverage.
Here are some tips to enhance your at-home coloring experience:
- Apply color first to areas with the most gray hair to guarantee they absorb the dye longer.
- Take smaller half-inch sections during application for even coverage and better dye penetration.
- If you notice uneven results, reapply color only to the gray areas for an additional 10 minutes.
- Always monitor the color development closely to avoid over-processing, which can lead to damage.
Following these guidelines will help you achieve a more uniform and vibrant color.
The Importance of Timing in Coloring
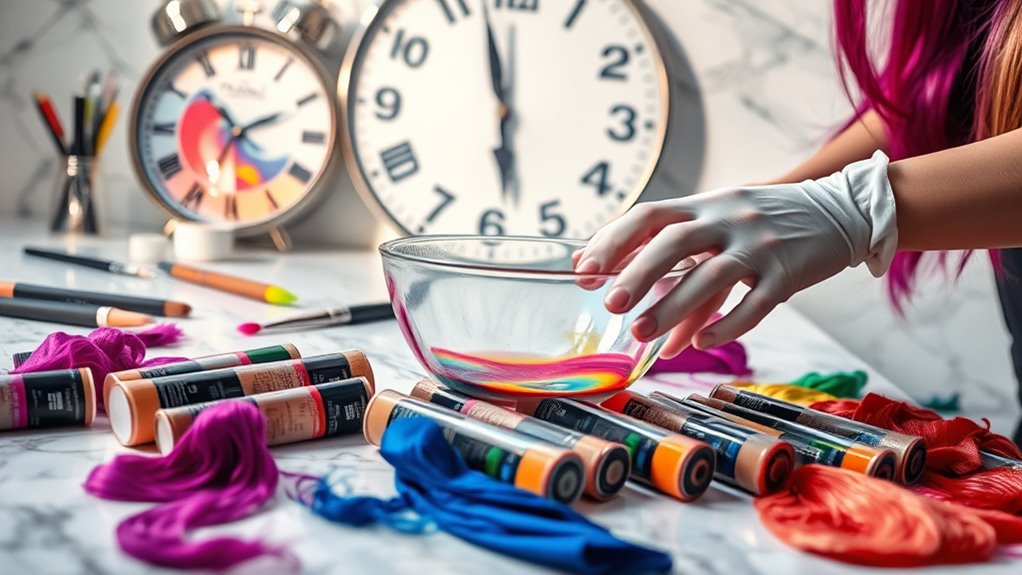
When it comes to at-home hair coloring, timing isn't just a suggestion—it's crucial for achieving the best results. Typically, you should leave the color on for about 25 minutes, but if you have stubborn gray hair, adding an extra 5 minutes can make a big difference.
Sticking to the box instructions guarantees the chemical process works correctly, helping you avoid uneven color. If you don't monitor the time closely, you risk ending up with overly dark or patchy hair, especially in gray areas.
Rinsing: Key to a Successful Outcome

Proper rinsing is essential for a successful hair coloring outcome, as it guarantees all dye is removed from your hair and scalp.
If you skimp on this step, you risk dull color, uneven results, and potential damage from chemical buildup.
Here are some key tips for effective rinsing:
- Rinse thoroughly until the water runs clear to verify all color is gone.
- Avoid hot water; lukewarm or cool water is best for sealing cuticles.
- Take your time; rushing can leave dye residue that irritates the skin.
- Remember, proper rinsing not only prevents staining but also prepares your hair for conditioning.
Conditioning: Locking in Color and Moisture

After rinsing out the dye, conditioning your hair is the next essential step to locking in color and moisture. Applying a good conditioner helps maintain vibrancy and prevents fading, so don't skip this step!
Leave the conditioner on for at least two minutes, but consider extending that time for even better results. Rinsing with cool water seals the hair cuticle, adding shine and smoothness.
Many box color kits come with a specially formulated conditioner that balances your hair's pH after coloring, enhancing color retention.
For ongoing vibrancy, incorporate regular conditioning treatments into your routine. This not only combats dryness and damage but also keeps your locks looking healthy and radiant between coloring sessions. Your hair deserves it!
Troubleshooting Common Coloring Issues

Coloring your hair at home can sometimes lead to unexpected results, but don't worry—most issues are easily fixable.
Coloring your hair at home may yield surprises, but most problems have simple solutions.
Here are some common problems and their solutions:
- If your color turns out darker, try a clarifying shampoo to lighten it gradually.
- For uneven color, apply dye in half-inch sections and use an old toothbrush on stubborn gray areas.
- Stains around your hairline? Massage the color into your skin before rinsing to prevent irritation.
- If your hair feels dry, a deep conditioning treatment for a longer duration can restore moisture and improve texture.
Maintaining Your Color Between Treatments

Keeping your hair color vibrant between treatments is essential for maintaining that fresh, salon-finished look.
Start by using sulfate-free shampoos and conditioners to prevent fading; sulfates can strip away moisture and color. Limit your washes to 2-3 times a week, and consider dry shampoo in between to keep your hair fresh.
Protect your color from UV exposure by wearing hats or using products with UV filters, as sunlight can dull your vibrancy. After washing, rinse your hair with cool water to seal the cuticle, locking in color and enhancing shine.
Finally, schedule regular touch-ups every 6-8 weeks to keep your roots fresh and your color consistent.
With these tips, your at-home color can stay stunning longer!
Frequently Asked Questions
What Does Vaseline Do When Dying Hair?
When you dye your hair, Vaseline acts as a protective barrier, preventing color from staining your skin around the hairline and ears.
By applying a thin layer, you can minimize irritation from hair dye chemicals, especially if your skin's sensitive.
It also saves you time on cleanup, as it helps avoid those stubborn stains.
Plus, it washes off easily with soap and water, making your dyeing experience much smoother.
What Color Hair Makes You Look Younger?
When you're looking to recapture that youthful glow, consider lighter hair colors like soft blondes and warm caramels.
These shades illuminate your face and soften any harsh features. Rich hues like chestnut or auburn can also breathe life into your look, adding warmth that combats dullness.
Avoiding overly dark or ashy tones is key, as they might highlight age-related features.
Opt for balayage or highlights to add dimension and vibrancy, enhancing your youthful appearance.
What Is the Best at Home Hair Color for Gray Coverage?
When you're looking for the best at-home hair color for gray coverage, opt for products that combine permanent and semi-permanent dyes.
Look for labels like "extra coverage" or "gray coverage" to effectively tackle stubborn grays. Shades with warm bases, such as golden or auburn, blend more naturally.
Choosing a color within two shades of your natural hue guarantees a seamless look. Brands like L'Oreal, Clairol, and Revlon are great options for easy application.
What Is the Most Damaging Color to Dye Your Hair?
Did you know that nearly 80% of people experience hair damage from coloring?
If you're wondering what the most damaging color is, it's often bleach. It strips your hair of its natural moisture, leaving it dry and brittle.
Darker shades, like black or deep burgundy, can also harm your hair due to high ammonia levels.
If your hair has been chemically treated before, it's even more prone to damage, so proceed with caution.
Conclusion
To sum up, at-home hair coloring can be a game-changer for your beauty routine. Did you know that about 70% of women in the U.S. color their hair at home? With the right supplies and techniques, you can achieve salon-quality results without breaking the bank. Just remember to protect your hairline, pay attention to timing, and condition well afterward. Embrace your inner stylist, and enjoy the vibrant colors you create right in your own bathroom!