
To create an effective sensory room, start by evaluating your needs and choosing a calm, clutter-free space with adjustable lighting. Add textured objects, soft lights, calming sounds, and calming visuals tailored to your preferences. Incorporate safety features like sturdy furniture and remove hazards. Use calming or stimulating elements based on your goals, and regularly update the space based on feedback. Keep exploring for detailed steps to design a personalized and functional sensory environment.
Key Takeaways
- Assess individual sensory needs and preferences to tailor the space effectively.
- Choose calming lighting and visual stimuli that can be easily adjusted or turned off.
- Incorporate a variety of textures and tactile objects suited to personal sensitivities.
- Integrate sound components like calming music and noise-canceling options for sensory regulation.
- Ensure the environment is safe, organized, and includes proprioceptive tools like weighted blankets or swings.
Creating a sensory room is a rewarding way to provide a calming, stimulating environment tailored to individual needs. When you design a space that caters to specific sensory preferences, you’re giving someone the opportunity to relax, focus, and explore in a safe, supportive setting. The key is to plan carefully, selecting components that address different sensory modalities like touch, sight, sound, and proprioception. Start by evaluating the person’s unique needs and triggers. Are they seeking calming sensations or more stimulation? Understanding their preferences ensures you create a space that truly benefits them.
Designing a sensory room tailored to individual needs fosters relaxation, exploration, and safety through thoughtful sensory component selection.
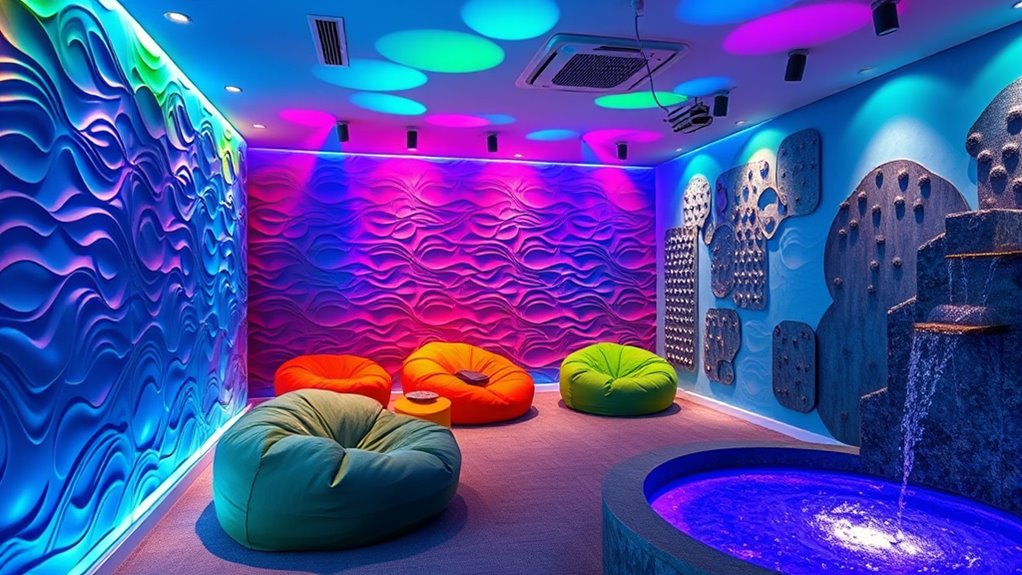
Once you’ve identified their needs, choose a quiet, clutter-free area for the room. It doesn’t need to be large; even a small corner can work if you optimize it properly. Light control is essential, so consider blackout curtains or dimmable lights to adjust the ambiance. Soft lighting creates a soothing environment, avoiding harsh glare that could overstimulate. Incorporate a variety of textures and tactile objects, such as plush pillows, textured mats, or sensory bins filled with beans or rice. These allow for hands-on exploration and help develop fine motor skills while offering comfort.
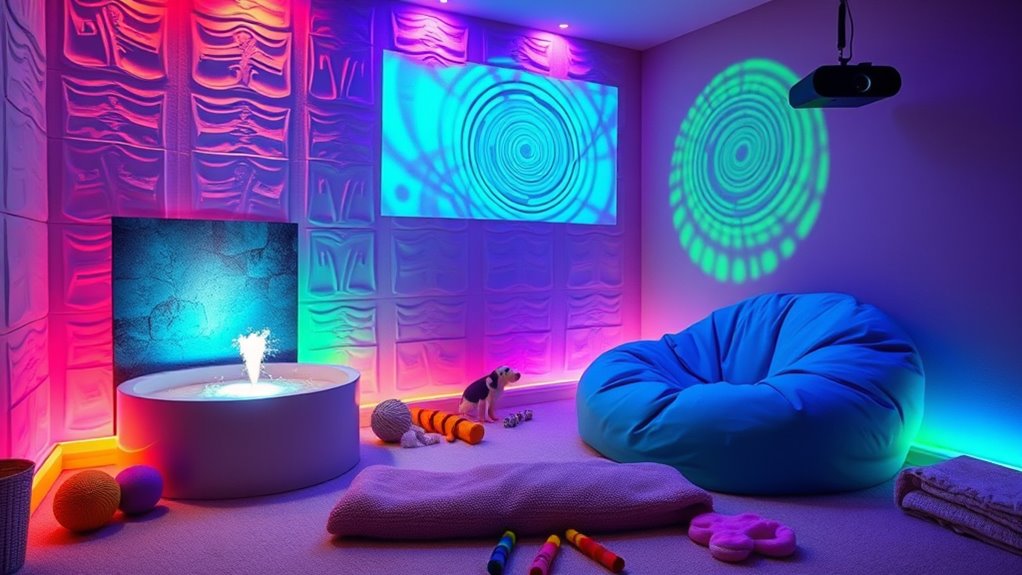
Sound is another crucial component. Use calming music, nature sounds, or white noise machines to create a peaceful auditory backdrop. You might also include noise-canceling headphones or weighted blankets for added comfort. Visual stimuli can be both engaging and calming; think about incorporating gentle, swirling lights, fiber optic strands, or calming visual artwork. Be sure to select items that can be easily turned off or adjusted to prevent overstimulation.
Proprioceptive input, which helps with body awareness and calming, can be integrated through weighted blankets, therapy swings, or even a small trampoline. These tools offer deep pressure input that many find soothing. Remember to keep safety in mind—use sturdy furniture, avoid small parts that could be swallowed, and ensure the space is free from hazards. Regularly update the room based on feedback and changing needs, ensuring it remains an effective sanctuary.
Finally, keep the space inviting and accessible. Use labels or visual cues for independence, and maintain an organized layout so the person can easily find the tools they want. By thoughtfully combining sensory elements and monitoring their impact, you’ll create a sensory room that genuinely works—offering comfort, regulation, and joy in a personalized environment.
Frequently Asked Questions
How Do I Measure the Space for My Sensory Room?
To measure your space, start by using a tape measure to record the length, width, and height of the room. Note down these dimensions accurately, including any alcoves or irregularities. Create a rough sketch, labeling measurements to visualize the layout. This helps you determine where to place sensory equipment and furniture. Always leave enough space for movement and accessibility, ensuring the room feels open and functional.
What Are the Best Budget-Friendly Sensory Room Options?
You can create a budget-friendly sensory room by repurposing everyday items like bean bags, soft blankets, and textured fabrics. Use inexpensive LED lights or string lights to add calming illumination. Incorporate DIY sensory toys such as stress balls or sensory bottles. Thrift stores often have suitable furniture and decor. Focus on creating a calming environment with soft, inviting textures and gentle lighting to maximize your budget.
How Do I Ensure Safety in the Sensory Room?
You guarantee safety by choosing non-toxic, hypoallergenic materials and securing all furnishings to prevent tipping. Regularly inspect equipment for damage and keep cords out of reach. Use soft, cushioned flooring to prevent injuries and install safety locks on cabinets and doors. Keep the room clutter-free and maintain clear pathways. Always supervise children during use and educate them about safe interactions within the sensory space.
Can a Sensory Room Be Used for Multiple Age Groups?
Did you know that multi-age sensory rooms promote social skills in 85% of users? Yes, a sensory room can be designed for multiple age groups by including adjustable equipment and varied sensory stimuli. You should tailor activities and tools to different needs, ensuring safety and engagement for all ages. By creating zones or sections within the room, everyone can benefit without feeling overwhelmed or excluded.
What Maintenance Is Required to Keep the Sensory Room Effective?
To keep your sensory room effective, you should regularly clean and disinfect all equipment and surfaces to prevent germs and guarantee safety. Check and replace worn or damaged items promptly to maintain functionality. Keep the lighting and sensory tools in ideal condition, and update activities periodically to keep engagement high. Regularly assess the space for any hazards, and solicit feedback from users to make improvements that suit their needs.
Conclusion
Now that you’ve planned your sensory room step by step, you’re well on your way to creating a calming space that truly works. Remember, Rome wasn’t built in a day, so be patient and adjust as needed. With each thoughtful addition, you’ll craft a sanctuary where comfort and calmness flourish. Keep in mind, a well-designed sensory room can be a beacon of peace, guiding those who need it most toward tranquility and support.