
To install lever-style door handles, gather tools like a screwdriver, drill, and measuring tape. Remove your old handle and latch, then align the new handle with the pre-drilled holes. Secure it tightly, making sure the latch operates smoothly. Test the handle and make adjustments if needed. Regularly tighten screws and clean the handles to keep them in good shape. Continue exploring, and you’ll discover all the tips for a successful, lasting installation.
Key Takeaways
- Gather necessary tools such as screwdriver, drill, level, and measuring tape before beginning.
- Remove existing hardware, then align and attach the new lever handle to pre-drilled door holes.
- Ensure latch mechanism operates smoothly and handles are securely fastened without overtightening.
- Test the handle for proper opening, closing, and latch engagement; make adjustments as needed.
- Perform post-installation checks, tighten screws periodically, and clean handles to maintain finish and functionality.

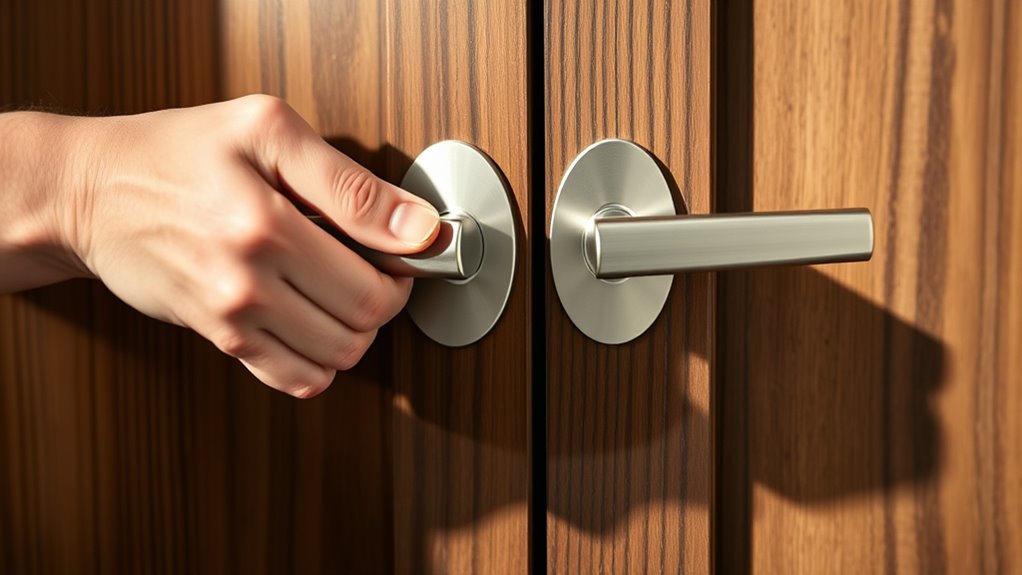
Installing lever-style door handles is a straightforward process that can enhance both the functionality and aesthetic of your doors. Before diving in, it’s helpful to understand the different types of door handles available. There are lever handles, knob handles, pull handles, and specialty handles, each suited to different door types and decor styles. Lever handles are popular because they’re easy to operate, especially for people with limited strength or mobility. They come in various finishes and designs, from sleek modern styles to more traditional looks, allowing you to choose one that complements your space. Once you’ve selected the right type, you can proceed with the installation, but it’s also wise to learn about lever handle maintenance. Proper care guarantees your handles stay functional and attractive over time, reducing the need for replacements or repairs.
To begin, gather the necessary tools—usually a screwdriver, a drill (if new holes are needed), a level, and possibly a measuring tape. Most lever handles come with installation instructions, but the process generally involves removing the existing hardware, if any, and aligning the new handle with the pre-drilled holes. If you’re replacing an old handle, start by unscrewing it and removing any latch mechanism. Clean the area thoroughly before installing the new handle to ensure everything fits properly. When attaching the new handle, make sure it’s aligned correctly and that you tighten the screws securely, but avoid overtightening, which could damage the handle or the door. Additionally, self-watering plant pots can be stored nearby to keep your plants healthy during home improvement projects.
As you install your lever handle, pay attention to the latch mechanism, making sure it functions smoothly when the handle is operated. Once installed, test the handle to see if it opens and closes the door easily. If it feels stiff or loose, tighten or adjust the screws accordingly. Regular maintenance of lever handles involves cleaning them with a soft cloth and mild soap, avoiding harsh chemicals that can damage finishes. Check the screws periodically and tighten them if they become loose. Lubricate the latch and moving parts with a graphite or silicone-based lubricant to keep everything operating smoothly. Proper maintenance not only extends the lifespan of your handles but also preserves their appearance and ease of use.
Frequently Asked Questions
Can Lever Handles Be Installed on Sliding Doors?
Yes, you can install lever handles on sliding doors, but you need to verify door latch compatibility first. Not all sliding doors are designed for lever handles, so to consider your latch mechanism supports this handle style. You also have handle design options to consider, such as flush or surface-mounted levers, which suit different door types. With the right matching hardware, installing lever handles on sliding doors is straightforward and enhances accessibility.
Are Lever Handles Suitable for Outdoor Use?
Yes, lever handles can be suitable for outdoor use if you choose models made from weather-resistant door handle materials like stainless steel, brass, or coated aluminum. These materials withstand the elements, preventing rust and corrosion. When selecting a lever handle for outdoor doors, guarantee it’s specifically designed for exterior use and offers good weather resistance, so it remains functional and looks good over time.
How Do I Fix a Loose Lever Handle?
To fix a loose lever handle, start by tightening the screws holding it in place with a screwdriver. If the handle remains wobbly, you might need to replace the handle or the internal components. Handle tightening often solves the issue, but if not, consider handle replacement to guarantee stability and proper function. Regularly check and tighten screws to prevent future looseness and extend the handle’s lifespan.
What Tools Are Needed for Installation?
You need a tools checklist to complete the installation steps smoothly. Gather a Phillips screwdriver, a flat-head screwdriver, a tape measure, and possibly a drill. The screwdriver helps tighten screws, while the drill speeds up the process if holes need to be drilled. By preparing these tools beforehand, you make the installation steps easier and quicker, ensuring your lever-style door handle is securely in place and functioning properly.
Can I Replace Existing Knobs With Lever Handles?
Ever wonder if you can swap out your knobs for lever handles? Yes, you can, as long as the door handle compatibility matches your door’s latch and bore size. You’ll need to make certain the lever handle fits the existing hole and aligns with your lock mechanism. Once installed, regular lever handle maintenance keeps it smooth and functional. Don’t forget to check the manufacturer’s instructions for a seamless replacement process.
Conclusion
And there you have it—your shiny new lever handle is ready to impress, or at least to make opening doors slightly less of a workout. Remember, a little patience now means fewer excuses for not fixing that squeaky door later. So go ahead, flaunt your handyman skills, and enjoy the sweet satisfaction of a job well done. Who knew installing a handle could feel this triumphant? Now, sit back and admire your handywork—door opening has never been so exhilarating.