
Sealing your doors in an afternoon is straightforward and effective. Begin by inspecting for gaps or drafts, and gather weatherstripping, door sweeps, scissors, and adhesive. Measure carefully, then cut strips to fit along the door frame and bottom. Attach the weatherstripping firmly, ensuring a snug fit, and secure the door sweep at the bottom. Afterward, check for leaks and make slight adjustments for the best seal. If you’d like to learn more tips, keep exploring how to maximize your door’s efficiency.
Key Takeaways
- Measure door frame and bottom to cut weatherstripping and door sweep accurately.
- Gather necessary supplies like adhesive-backed foam, scissors, and screwdriver before starting.
- Install weatherstripping along door edges and attach the door sweep securely at the bottom.
- Press firmly during installation to ensure a tight seal and check for gaps after sealing.
- Make adjustments as needed, such as tightening hinges or adding extra strips, to achieve maximum efficiency.
Are you tired of drafts and high energy bills? Weather-sealing your doors can make a huge difference in comfort and savings, and the good news is, you can do it in an afternoon. The process is straightforward and doesn’t require special skills or expensive tools. With a few simple steps, you’ll seal those gaps that let cold air in during winter and hot air in the summer, ensuring your home stays more comfortable and energy-efficient.
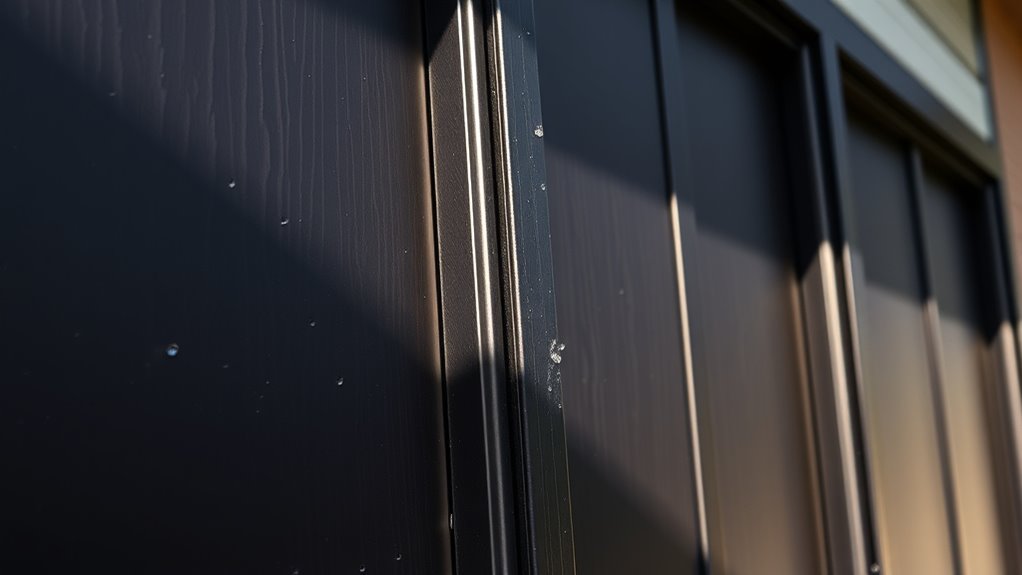
Start by inspecting your doors carefully. Open them and look around the edges for visible gaps or cracks. Feel for drafts with your hand or hold a lit incense stick near the frame—if the smoke wavers, you’ve found a leak. Once you identify the problem areas, gather your supplies: weatherstripping, door sweeps, scissors, a screwdriver, and possibly some adhesive or sealant depending on the type of weatherstripping you choose.
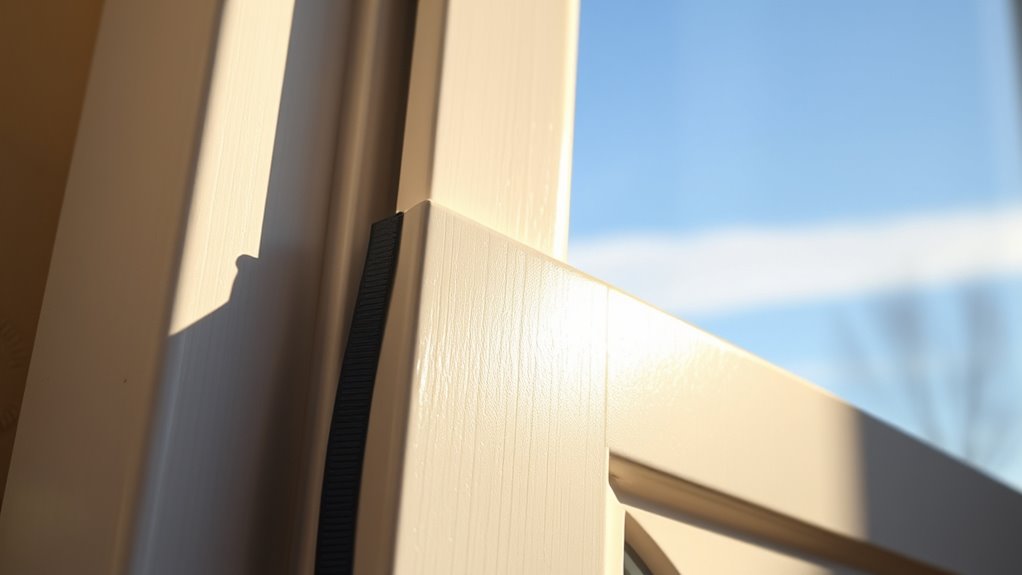
Next, measure the length of the doorframe where you plan to install weatherstripping. Accurate measurements ensure you cut the right lengths and avoid waste. If you’re using foam tape or V-strip, measure and cut strips to fit along the sides and top of the door frame. For door sweeps, measure the width of the bottom of your door. When installing, ensure the weatherstripping is aligned properly and pressed firmly into place for a tight seal. If you’re using adhesive-backed foam, peel off the backing and stick it along the frame, pressing firmly to secure it. For V-strips, fold and press them into the door’s jambs, making sure they’re snug but not too tight, which could hinder door operation.
For the bottom of the door, a durable door sweep is essential. Attach it securely to the door’s lower edge, ensuring it brushes the threshold when closed. If you notice any gaps remaining after installing the weatherstripping, consider adding a second layer or replacing old, worn-out strips. Sometimes, adjusting the door hinges slightly can help improve the seal, especially if the door isn’t closing fully. Additionally, choosing the right type of weatherstripping can enhance the effectiveness of your seal, especially since best options for sealing doors vary depending on the material and location.
Once everything is in place, close the door and check for drafts again. Run your hand along the edges or use the incense stick to confirm that no more cold or hot air sneaks through. If you find any leaks, make adjustments until you achieve a tight seal. This simple afternoon project can dramatically improve your home’s energy efficiency, reduce drafts, and make your living space more comfortable without breaking the bank. With just a little effort, you’ll enjoy a warmer, more cost-effective home in no time.
Frequently Asked Questions
Can Weather-Sealing Doors Be Installed Indoors?
Yes, you can install weather-sealing doors indoors. These doors help improve insulation and reduce drafts inside your home. To do this effectively, measure your door frame accurately, choose the right sealing material, and follow installation instructions carefully. You’ll need basic tools like a screwdriver and a utility knife. Installing indoors is straightforward and can be done in an afternoon, making your space more energy-efficient and comfortable.
What Is the Average Cost of Weather-Sealing Doors?
The average cost of weather-sealing doors ranges from $100 to $300 per door, depending on the material, size, and sealing type. You might spend more for high-end options or professional installation. To save money, consider DIY sealing kits, which usually cost between $20 and $50. Remember, investing in proper weather sealing can reduce energy bills and improve comfort in your home.
How Long Does the Installation Process Typically Take?
You can typically expect the installation to take around 2 to 4 hours, depending on your door’s complexity and your handyman’s experience. It’s a quick job that gets done in a jiffy, so you won’t be left hanging all day. Make sure you have all necessary tools and materials ready beforehand, so the process flows smoothly. Before you know it, you’ll have a nicely sealed door keeping the weather out!
Are Weather-Sealing Doors Suitable for Extreme Climates?
Yes, weather-sealing doors are suitable for extreme climates. They’re designed to withstand harsh conditions like heavy rain, snow, and extreme temperatures. You’ll benefit from their durability and excellent insulation, which helps keep your home warm in winter and cool in summer. Just guarantee you choose a high-quality, properly installed door tailored to your specific climate needs. With the right choice, you’ll enjoy reliable protection and energy efficiency year-round.
Do These Doors Require Special Maintenance or Repairs?
Yes, weather-sealing doors do require some maintenance to stay effective. You should regularly check the seals for cracks, tears, or wear, and clean them to prevent dirt buildup. If you notice any damage, replace the seals promptly to keep insulation intact. Additionally, lubricate hinges and locking mechanisms periodically to ensure smooth operation. By staying proactive, you’ll maximize their durability and performance in extreme climates.
Conclusion
So there you have it—weather-sealing your doors in just an afternoon. Who knew that sealing out drafts could be so quick and painless? Now you can sit back, relax, and enjoy the bliss of not feeling like you’re camping indoors every time it rains. Just think, all that effort in a few hours, and you’ll be the envy of every neighbor battling their own drafty disasters. Cheers to a cozy, leak-free home—because who has time for weather woes?