
To save energy, start by sealing leaks around windows, doors, and utility openings with weatherstripping or caulking. Next, upgrade your insulation in the attic, walls, and basement with high R-value materials to boost thermal resistance. Combining these simple fixes reduces drafts and eases your HVAC’s work, lowering energy bills year-round. Keep exploring ways to make your home more efficient and comfortable by discovering additional tips ahead.
Key Takeaways
- Seal gaps around windows, doors, and utility entries with weatherstripping and caulking to prevent drafts.
- Upgrade attic, wall, and basement insulation with high R-value materials to improve temperature regulation.
- Identify and seal leaks in common areas to reduce air infiltration and ease HVAC workload.
- Combine sealing and insulation upgrades for maximum energy savings and enhanced home comfort.
- Focus on key areas and perform regular maintenance to ensure ongoing weatherproofing effectiveness.

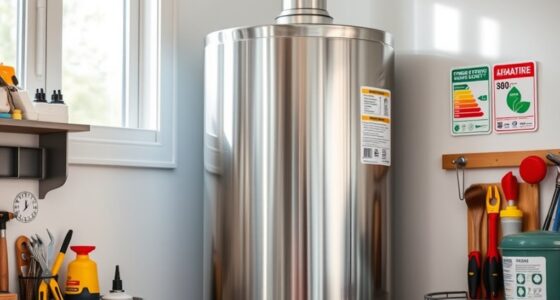
Preparing your home for changing weather is essential to protect it from damage and improve energy efficiency. One of the most effective steps you can take is investing in insulation upgrades. Proper insulation helps regulate your home’s temperature, keeping it warmer in winter and cooler in summer. When you upgrade your insulation, you’re reducing the workload on your heating and cooling systems, which can lead to lower energy bills. Focus on areas like the attic, walls, and basement, where heat loss or gain often occurs. High-quality insulation materials, such as spray foam or fiberglass batts, can make a noticeable difference in maintaining consistent indoor temperatures. Additionally, upgrading insulation can prevent drafts and cold spots, making your home more comfortable year-round. Using the right insulation materials can also support energy-efficient home improvements, further reducing your environmental impact. Incorporating insulation materials with high R-values can maximize thermal resistance and improve overall home comfort. In some cases, considering crochet or knitting techniques may help in creating custom covers or insulating wraps for pipes and other vulnerable areas, adding an extra layer of protection. This can be especially useful for insulating pipes in colder climates, preventing freezing and burst risks.
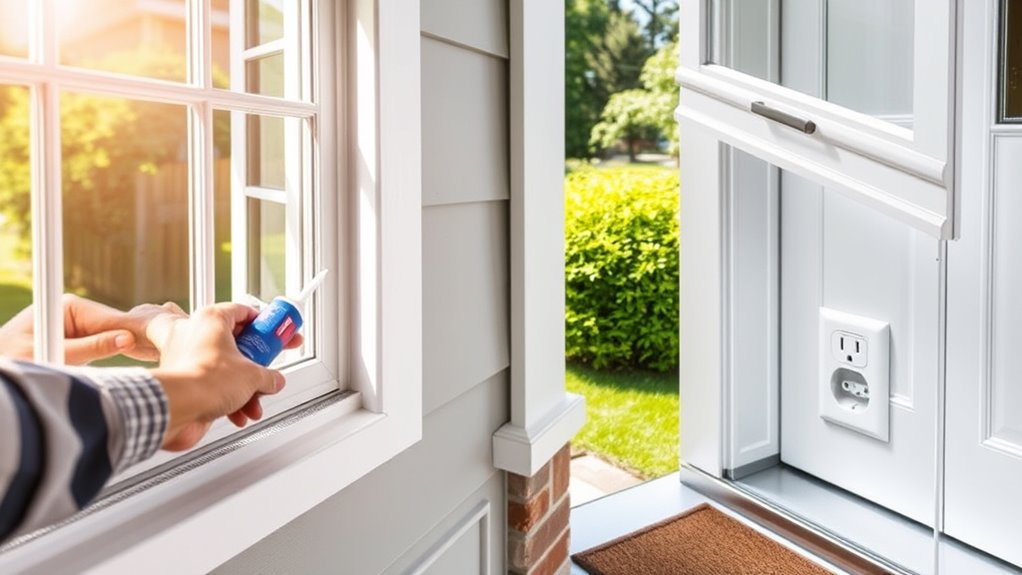
Sealing leaks is another vital step in weatherproofing your home. Even small gaps around windows, doors, and utility penetrations can cause significant energy loss. When you seal these leaks, you’re preventing air infiltration, which means your HVAC system doesn’t have to work as hard to maintain your desired indoor climate. Use weatherstripping around doors and windows to block drafts and consider caulking for small gaps and cracks. Pay special attention to areas where different building materials meet, such as corners and around utility pipes. Weatherproofing these spots not only enhances energy efficiency but also helps protect your home from moisture intrusion and pests.
Combining insulation upgrades with sealing leaks creates a thorough barrier against the elements. Start by identifying areas where air might escape or enter, then apply weatherstripping or caulking as needed. After sealing leaks, focus on adding or improving insulation in key areas. This duo reduces drafts, maintains stable indoor temperatures, and ultimately lowers your heating and cooling costs. It’s a cost-effective way to make your home more resilient against seasonal weather changes. Proper insulation and sealing can also contribute to cost savings over time, making your investment even more worthwhile.
Frequently Asked Questions
How Often Should I Inspect My Home for Weatherproofing Issues?
You should inspect your home for weatherproofing issues at least twice a year, ideally during seasonal inspections in spring and fall. During these checks, focus on common problem areas like windows, doors, and vents. Regular inspections help you catch drafts, leaks, or damaged seals early, saving energy and preventing costly repairs. Staying proactive guarantees your home stays comfortable and energy-efficient year-round.
Are DIY Weatherproofing Solutions as Effective as Professional Installation?
DIY weatherproofing solutions can be effective for small issues, but their effectiveness often depends on your skill level and the problem’s complexity. While DIY fixes are budget-friendly and quick, professional installation tends to be more thorough and reliable for bigger or more complicated issues. If you’re unsure, investing in professional services guarantees better long-term energy savings and protection, especially for critical areas like insulation and sealing.
What Is the Cost Range for Comprehensive Home Weatherproofing?
Considering thorough home weatherproofing, your cost estimate varies quite a bit. You might spend from a few hundred dollars for minor fixes to several thousand for full-scale sealing and insulation upgrades. Budgeting tips include prioritizing high-impact areas first. Remember, investing in quality materials and professional help can save money long-term by boosting energy efficiency and lowering utility bills, making your home more comfortable and cost-effective.
How Long Do Weatherproofing Materials Typically Last?
Weatherproofing materials usually last between 5 to 15 years, depending on their durability estimates and exposure to weather conditions. You should regularly inspect and maintain them to guarantee they stay effective. Keep an eye out for signs of wear or damage, and reseal or replace materials as needed. Following simple maintenance tips helps extend their lifespan, saving you money and keeping your home energy-efficient longer.
Can Weatherproofing Improve My Home’S Indoor Air Quality?
Weatherproofing can definitely improve your home’s indoor air quality. By sealing gaps and cracks, you reduce drafts that allow outdoor pollutants, dust, and allergens to enter. This helps maintain better indoor air quality, making your environment healthier and more comfortable. Plus, weatherproofing prevents moisture from seeping in, which can lead to mold growth that negatively impacts indoor air. Overall, it’s a simple way to enhance your home’s air quality and indoor air conditions.
Conclusion
By sealing gaps and adding insulation, you’ll make your home incredibly energy-efficient—saving you money and reducing your carbon footprint. These simple fixes can make your house feel like a fortress against the weather’s worst whims. Don’t underestimate the power of small changes; they can transform your energy bills and comfort levels faster than you can blink. Take action today and turn your home into a weatherproof sanctuary that keeps you cozy all year round!