Looking to make a clay mask at home? It's simple and shockingly affordable! Start with European clay powder, mix in water, and add nourishing ingredients like rose hip oil or essential oils. Apply the mask evenly on your face, let it sit for 10 minutes, then rinse off with a warm washcloth. You'll enjoy all the skincare benefits while saving money compared to salon treatments. Keep going, and you'll discover more tips and techniques to perfect your mask!
Key Takeaways
- Mix European clay powder with water and optional ingredients like rose hip oil for hydration and essential oils for fragrance.
- Apply the mask evenly to the face, avoiding the eye area, and let it sit for 10 minutes.
- Remove the mask using a warm washcloth, ensuring all residue is rinsed off thoroughly.
- Finish by applying a daily moisturizer to lock in hydration and maintain skin health.
- Enjoy the cost-effective DIY option at around $8 compared to salon treatments averaging $60.
Benefits of a DIY Clay Mask
A DIY clay mask offers a wealth of benefits for your skin. First off, it effectively absorbs excess oils, dirt, makeup, and bacteria, promoting a clearer complexion. The natural texture of the clay provides gentle exfoliation, making it suitable for all skin types. Plus, you can customize your mask with additions like rose hip oil for hydration or essential oils for a lovely fragrance, enhancing your overall experience. Additionally, incorporating a clay mask into your routine can help maintain skin health by keeping it hydrated and elastic. Using high-quality ingredients in your mask can further amplify its benefits, as seen in Patchology's commitment to quality formulations. Furthermore, using a mask that contains antioxidants can help combat oxidative stress, promoting healthier skin. Best of all, compared to salon facials that can cost around $60, this affordable option only sets you back about $8, allowing you to enjoy a spa-like treatment right in your home. Regular engagement with your creative practice can also enhance your skincare routine, as creativity often leads to innovative self-care solutions. Interestingly, the natural ingredients in your mask can also promote dental health by encouraging the use of raw food principles in your diet. Treat yourself to a DIY clay mask, and watch your skin transform!
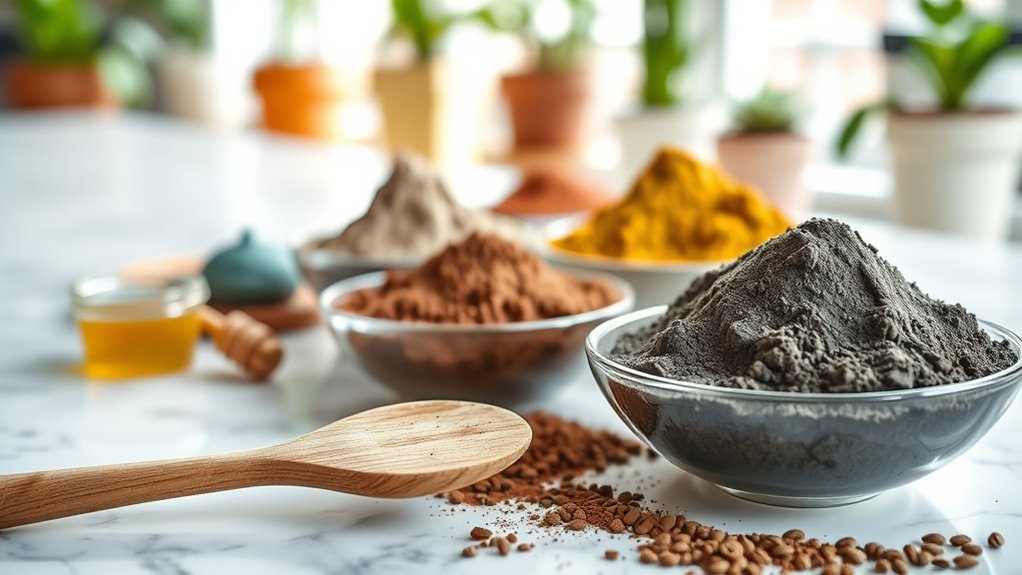
Essential Ingredients for Your Mask
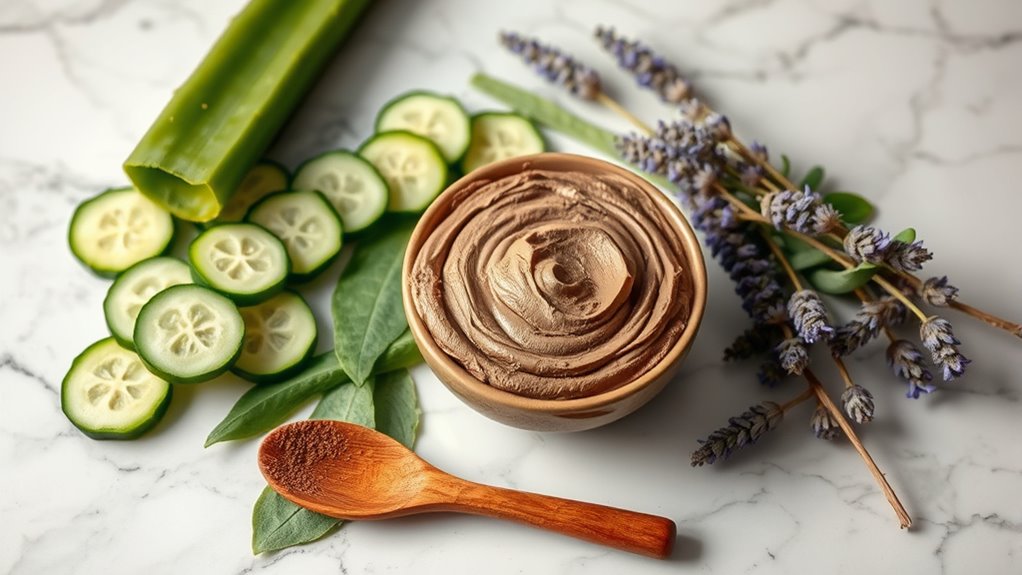
To create an effective clay mask, you'll need a solid base of European clay powder, which is packed with minerals that nourish your skin. Incorporating nutrient-rich ingredients, such as baked kale, can further enhance the benefits of your mask. You can enhance your mask by adding moisturizing ingredients like rose hip oil or invigorating essential oils such as grapefruit, but always ensure to follow dilution guidelines to avoid skin irritation. Customizing your mask with specific additions allows you to target your skin's unique needs for the best results. Additionally, consider incorporating antioxidant-rich ingredients to help combat oxidative stress and promote healthier skin. Chia seeds, known for their high omega-3 fatty acids, can also provide skin-nourishing benefits, but be cautious of potential allergic reactions to ingredients like chia seeds, which can trigger symptoms in sensitive individuals.
Key Clay Components
Creating a clay mask at home involves a few key components that enhance its effectiveness. The primary ingredient you'll need is European clay powder, packed with nutrients from volcanic activity.
To boost hydration, make sure to add rose hip oil, which nourishes your skin. For a customized touch, consider incorporating essential oils like grapefruit for fragrance and extra skin benefits.
Mix the clay powder with water to activate its properties, creating a creamy texture that's easy to apply. This mask is suitable for all skin types, making it a versatile choice for your skincare routine.
Once you try it, you'll want to come back in two weeks to see the amazing results!
Beneficial Additions Options
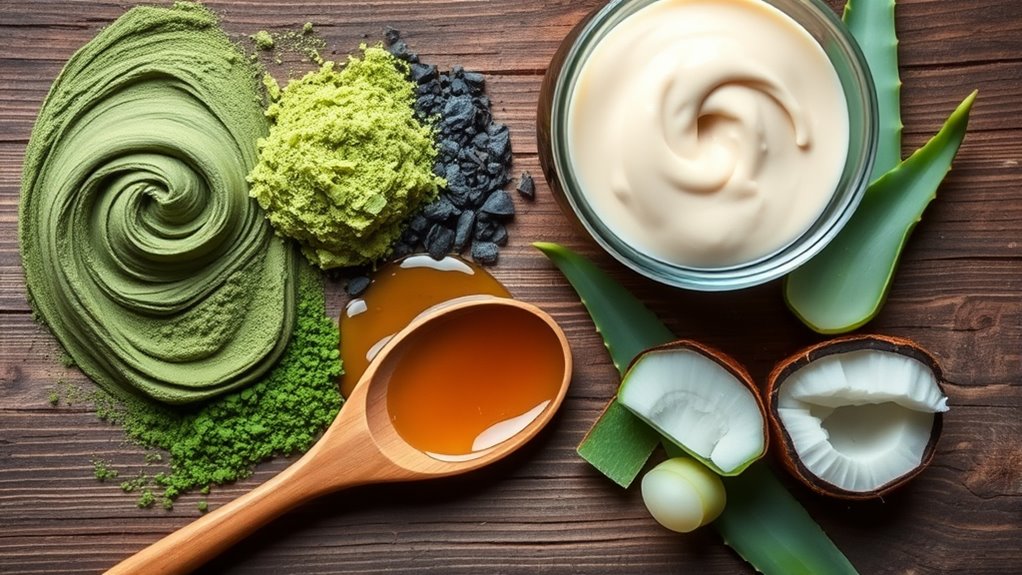
Adding beneficial ingredients to your clay mask can elevate its effectiveness and tailor it to your specific skin needs. Consider incorporating rose hip oil for added hydration, making your mask feel luxurious and moisturizing.
Essential oils like grapefruit not only provide a rejuvenating scent but also enhance your mask with extra skin benefits, promoting relaxation during application.
The foundation of your mask, European clay powder, naturally exfoliates while absorbing excess oils and impurities.
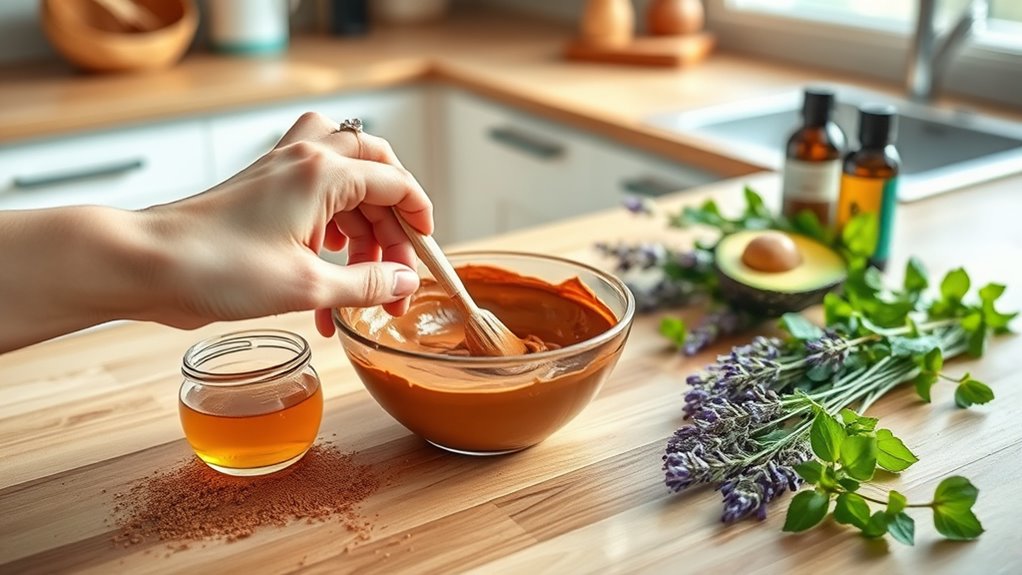
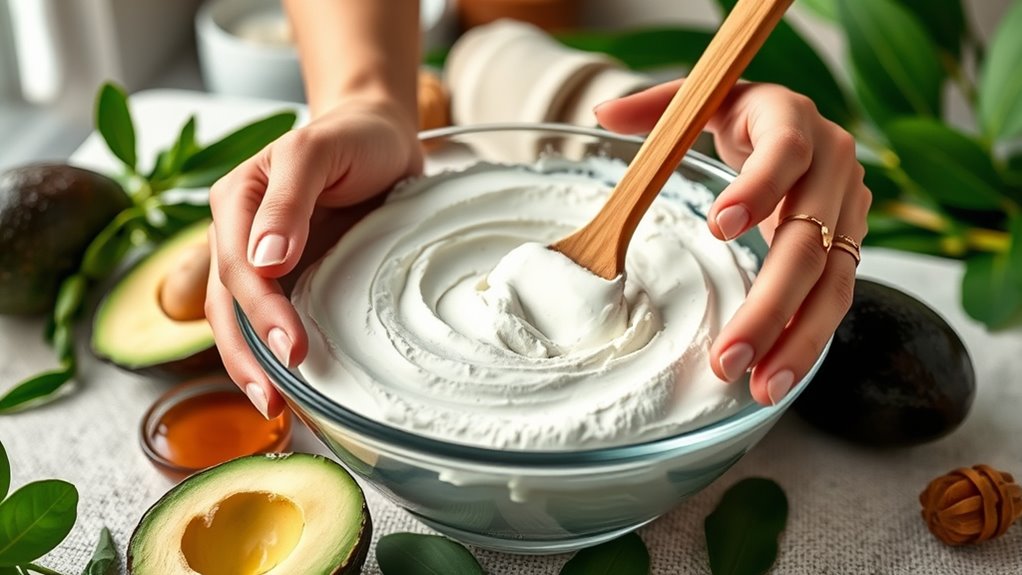
For customization, think about adding honey for its antibacterial properties or avocado for deep nourishment.
Simply mix your chosen ingredients until you achieve a creamy consistency, ensuring a delightful and effective DIY clay mask experience that caters to your unique skin concerns.
Step-by-Step Application Process
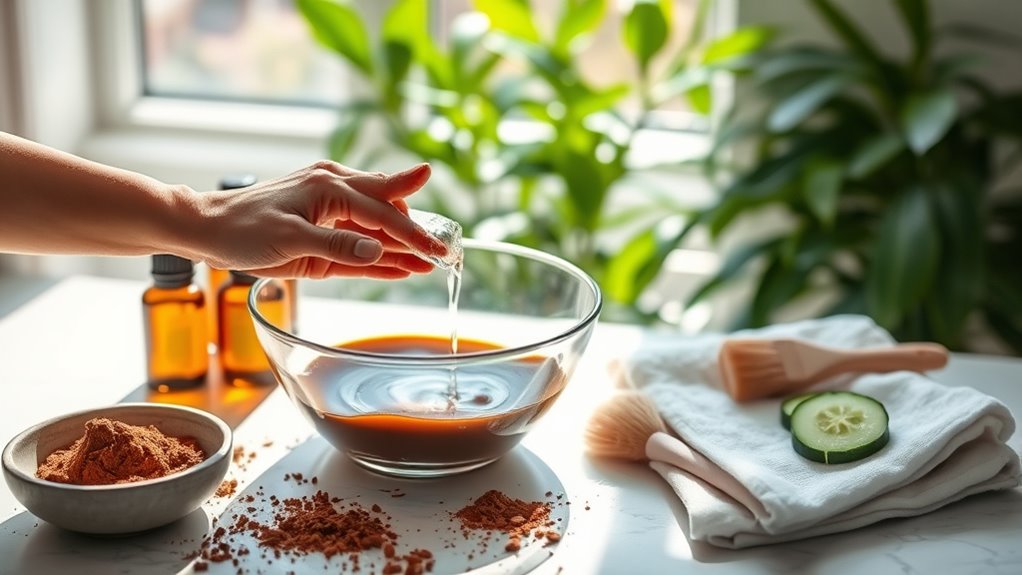
Applying a clay mask at home is a straightforward process that can elevate your skincare routine. Start by mixing European clay powder with water and any desired additions, like rose hip oil or essential oils, until you achieve a creamy consistency.
Next, use your fingers or a mask brush to apply an even layer to your face, steering clear of the eye area. Let it sit for 10 minutes, allowing it to absorb excess oils and impurities.
Finally, gently remove the mask with a warm washcloth, ensuring you rinse off thoroughly to avoid residue. Finish your skincare routine by applying a daily moisturizer to lock in hydration and enhance the mask's benefits.
| Step | Action | Duration |
|---|---|---|
| Mix ingredients | Combine clay powder, water, and oils | Until creamy |
| Apply mask | Spread evenly on face | – |
| Let it sit | Allow mask to absorb oils | 10 minutes |
| Remove mask | Wipe off with a warm washcloth | – |
Cost Comparison: DIY vs. Salon Treatments
While salon treatments can offer professional results, opting for a DIY clay mask is a budget-friendly alternative that doesn't skimp on effectiveness. You can whip up a homemade mask for about $8, compared to the typical $60 price tag for salon sessions.
Plus, sourcing materials is easy, whether from local stores or online, allowing you to customize based on your skin's unique needs. Not only do DIY masks save you money, but they also let you select ingredients like essential oils that cater specifically to your skin type.
Regularly using your DIY mask can cut down on salon visits, leading to significant savings over time. Creating and applying your mask can be just as enjoyable and relaxing as a professional facial too!
Community Engagement and Sharing Your Experience

How can you make your DIY clay mask experience even more rewarding? Engage with the community by tagging @heartbeetkitchen on Instagram.
Sharing your results not only showcases your creativity but also inspires others. Use the hashtag #heartbeetkitchen to connect with fellow enthusiasts experimenting with homemade clay masks.
Don't hesitate to leave comments and ratings on others' posts; your feedback fosters a sense of belonging. Share personal tips or adjustments to your recipe, encouraging innovation within the community.
Join discussions about the benefits and outcomes of using clay masks, enhancing everyone's knowledge. By participating actively, you'll create a supportive network that celebrates every unique clay mask journey.
Crafting Your Homemade Clay and Slab
Crafting your own clay slab can be a fun and rewarding experience, especially when you keep it simple. To start, gather just three ingredients—various types of clay work well. Roll the clay on a clean surface until it's about the thickness of an index finger. Cut out your desired shape using tools like a shish kabob stick or butter knife.
Here's a quick guide:
| Step | Action | Tools Needed |
|---|---|---|
| 1 | Roll out the clay | Clean surface |
| 2 | Cut your shape | Shish kabob stick |
| 3 | Smooth edges | Fingers or knife |
| 4 | Store properly | Airtight container |
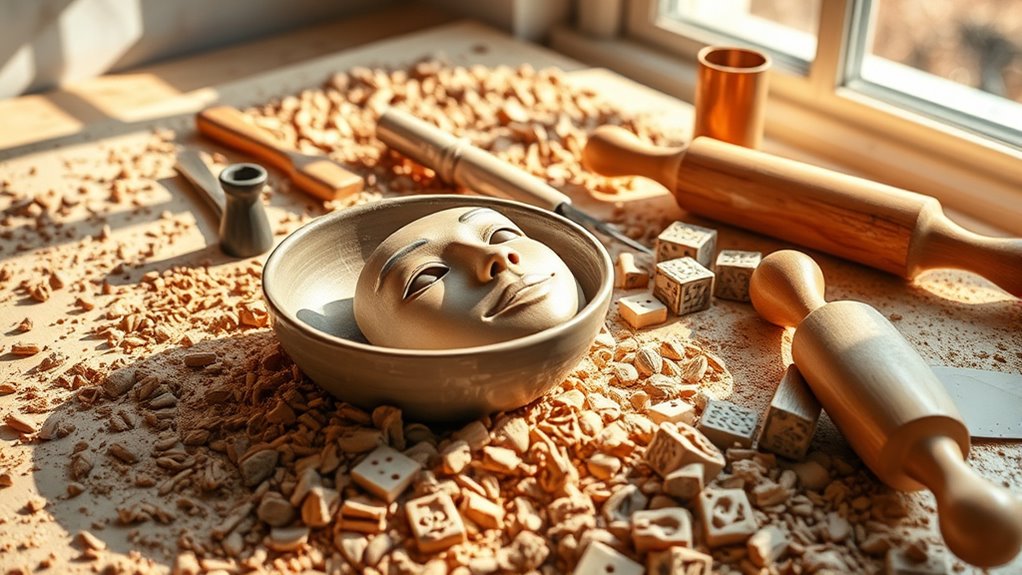
Building Unique Facial Features
What makes a mask truly mesmerizing? It's the unique facial features that capture emotion and personality.
Start by crumpling newspaper to create a sturdy support under your clay slab. Use facial proportion guidelines to accurately position the eyes, nose, and mouth for a realistic look.
For the lips, roll coils, ensuring the top is thinner than the bottom, and blend the edges for a secure attachment. Create eyeballs by rolling spheres, cutting them in half, and attaching them with water.
Add depth with coil eyelids. Finally, enhance the mask's lifelike quality by blending small coils to create wrinkles and expressions. Observing real facial expressions can guide you in achieving a mesmerizing and unique mask.
Techniques for Expressive Masks
Creating unique facial features lays the groundwork for your mask, but the real magic comes from expressing emotions through those features. To enhance your mask, add wrinkles using small coils for realism, focusing on the mouth and eyes. Experiment with various eyelid and lip shapes for dramatic impact.
Here's a quick reference table to guide your expressions:
| Feature | Technique |
|---|---|
| Wrinkles | Use coils to create raised lines |
| Eyeballs | Roll spheres, cut in half, attach with water |
| Mouth Shapes | Experiment with different sizes and shapes |
| Blending Coils | Seamlessly blend into the mask for texture |
Observe real-life expressions to guarantee accuracy in proportions and emotions. This attention to detail will make your mask truly expressive!
Drying and Finishing Your Creation

How can you guarantee your clay mask dries perfectly? Start by letting it dry slowly at room temperature. This prevents cracking, which can happen if it dries too quickly or in direct sunlight.
Place your mask on a flat surface and avoid stacking or covering it; this stops moisture from getting trapped and keeps the shape intact. Once it's fully dry, grab some fine sandpaper to smooth any rough edges or imperfections, enhancing its texture.
To finish, consider applying a sealant like acrylic spray or paint for added protection and vibrancy. If cracks do appear, don't worry! There are future tutorials that'll show you how to repair them and apply decorative finishes for a polished look.
Future Ideas for Decorating Your Mask

Now that your clay mask is ready, it's time to think about decorating it!
You can use various painting techniques, like acrylics or watercolors, to bring your mask to life.
Plus, adding texture with mixed media, like dried flowers or fabric, can make your creation even more unique.
Painting Techniques Overview
Adding color to your clay mask can transform it into a true work of art. You can explore various painting techniques like watercolor, acrylic, or spray paints to bring vibrancy and detail to your creation.
Before diving in, apply a base coat to guarantee better adhesion and longevity of the colors. For intricate designs, use markers specifically designed for clay surfaces, which won't compromise your mask's texture.
Don't hesitate to experiment with different finishes—gloss, matte, or metallic sprays can enhance the overall look and protect your painted surface.
Additionally, consider using pastels or chalk to create soft shading effects, adding depth and dimension to your mask's features. Let your creativity shine!
Texturing With Mixed Media
After you've perfected your painting techniques, think about how mixed media can elevate your clay mask even further. You can use fabric pieces, beads, or sequins to introduce unique textures and visual flair. Integrate natural elements like leaves or flower petals into the wet clay for an organic touch. Try different painting methods, such as sponging or stippling, for dimensional effects. After your mask dries, consider layering materials like lace or mesh to enhance depth. Use various tools—brushes, sponges, or palette knives—to create intricate details.
| Material | Effect | Application |
|---|---|---|
| Fabric pieces | Soft texture | Adhere to wet clay |
| Beads | Shine and dimension | Glue onto dry surface |
| Leaves | Organic look | Press into wet clay |
| Lace | Delicate layering | Place over dry mask |
| Palette knife | Intricate details | Scrape or add texture |
Frequently Asked Questions
How to Make Your Own Clay Mask at Home?
To make your own clay mask at home, start by mixing European clay powder with water until you achieve a creamy texture.
You can customize it by adding rose hip oil for moisture or a few drops of essential oil for fragrance.
Apply the mask evenly on your face and let it sit for about 10 minutes.
When you're ready, gently wipe it off with a warm washcloth and finish with your favorite moisturizer.
How Do You Make a 3 Ingredient Face Mask?
To make a simple 3-ingredient face mask, start by mixing European clay powder with water until you achieve a creamy consistency.
If you want extra hydration, consider adding a few drops of rose hip oil. For a pleasant scent, include a few drops of your favorite essential oil.
Blend everything until smooth, then apply it to your face. Let it sit for 10 minutes before rinsing off with a warm cloth for refreshed skin.
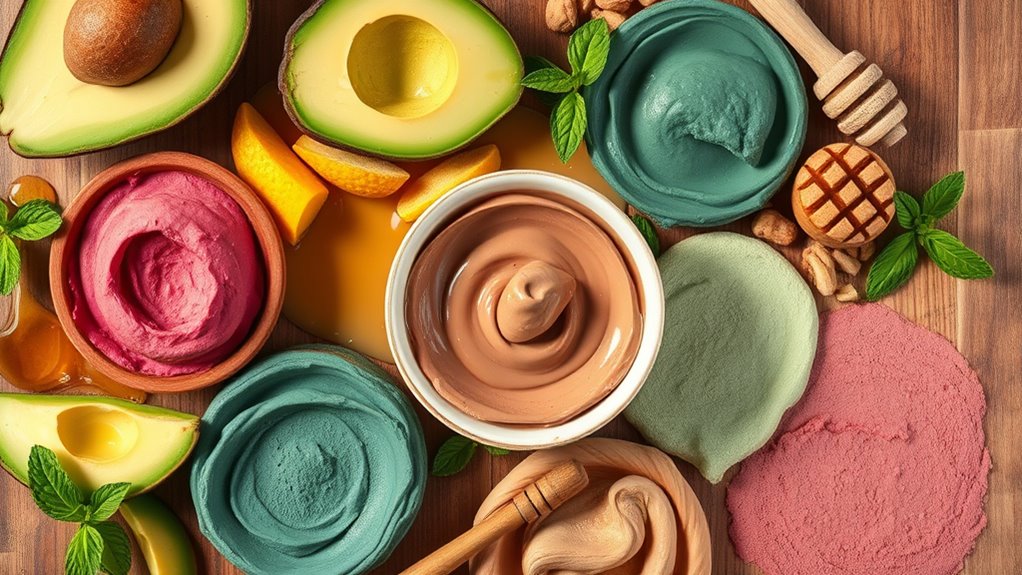
Which Natural Clay Is Best for the Face?
So, you're wondering which natural clay is best for your fabulous face?
Well, if you've got oily skin, bentonite clay's your best friend, absorbing all that excess oil.
For sensitive types, kaolin clay offers a gentle touch.
If your skin's looking dull, French green clay's detoxifying magic can perk it up.
And if you want to feel fancy, try rhassoul clay—it's Moroccan and fabulous for all skin types.
Choose wisely, and glow on!
How to Make a Clay Hair Mask at Home?
To make a clay hair mask at home, mix European clay powder with water until you get a smooth paste.
You can add rose hip oil or essential oils like grapefruit for extra moisture and a pleasant scent.
Apply the mask to your clean, damp hair, focusing on the scalp and roots, and let it sit for about 20 minutes.
Rinse thoroughly with warm water and follow up with a gentle shampoo.
Enjoy your revitalized hair!
Conclusion
Now that you're equipped with the knowledge to create your own clay mask, imagine the soothing sensation as you apply it, transforming your skin into a canvas of rejuvenation. Each ingredient is a brushstroke, painting liveliness onto your face. Embrace the cost-effective beauty of this DIY project, and let your creativity shine through. As you indulge in this self-care ritual, you're not just masking; you're revealing a fresher, more radiant version of yourself. Enjoy the journey!